How to Lay your Floor
Take your time
Putting in a new floor has never been easier with laminate. All our laminate floors are designed for ease of installation, but like all projects, you need to take your time to get the best results. Just a little extra time spent on preparation and completing your project will make it a pleasure rather than a chore.
Before you start - Your checklist
- Is the space rectangular or square, a corridor or hallway?
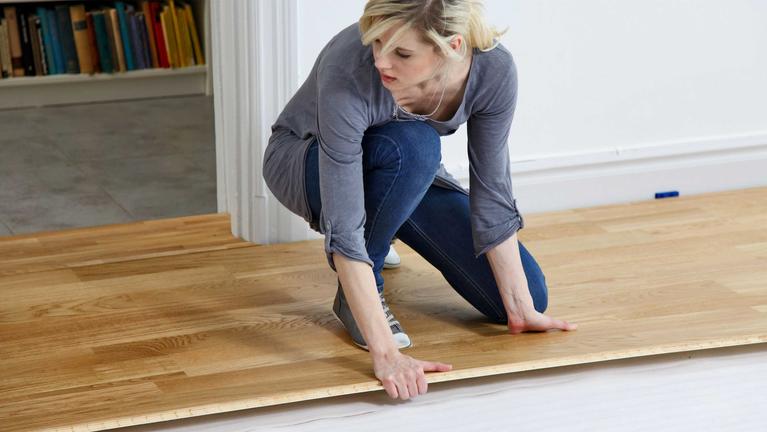
- Decide which direction you are going to lay the floor.
- Have you got enough of your chosen floor to cover the area?
- Have you allowed extra for wastage caused by awkward edges and corners?
- Make sure that the temperature and humidity levels are normal (usually over 18° C with Relative Humidity between 40%-60%).
- Make sure that the sub-floor is clean and dry.
- Store the floor unopened in the room for a minimum of 24 to 48 hours before using so that it can acclimatise to the ambient conditions.
- You don’t need any elaborate tools to install one of our floors but you will need a saw for laminate.
Getting ready
When you are installing laminate the sub-floor should be level, firm and dry. Vacuum the surface carefully so that it is absolutely clean and free from debris.
Laminate can be installed over:
Concrete - If new, leave to dry for a minimum of 90 days. You must use a vapour barrier and could also include an acoustic underlay or combined vapour/acoustic product.
Wood - Must be adequately ventilated, and loose planks nailed or screwed down so that they don’t move. Do not install a vapour barrier.
Carpet - Only short pile that has been glued directly to a wooden sub-floor. Do not use an underlay.
Tile - Only one layer thick and without any loose tiles, cracks or other damage.
Going straight
Whatever direction you lay your floor, for a really professional finish you want to avoid planks that are crooked or slanted across the room. Make sure that the first line is absolutely straight wall-to-wall – drawing a pencil line will help - and keep checking as you go along.
Mind the gap
As a natural product, laminate floors will expand and shrink as the temperature and humidity change. It’s important to leave an ‘expansion gap’ all around the perimeter of the room so that the floor has space to move. This means that you should start your first row of plank at least 12mm to 15mm away from the wall. A skirting or moulding usually covers this gap once the floor is finished. Also ensure you include expansion gaps at doors and where vertical objects such as fire places and posts are present.
Ready, steady, go!
Laminate
The T-Lock and the new 2-Lock systems make it very easy to install our Laminate floors - in particular 2-Lock which makes the process faster than ever. They simply click together without any need for glue, nails or elaborate tools. Check how many rows you will need – you can loosely lay the planks across the room - and make sure that the final row won’t be too narrow to cut easily (less than 50mm). If it is, cut the first row so that you can add a bit of extra width to the last one. The result will be stronger and look better.
Getting the best from laminate planks
Planks can be laid in any direction you like, but you can make the most of their appearance and performance by laying them:
- Lengthwise for rectangular rooms and corridors
- Towards the light in square rooms
Instructions included
We provide complete instructions with all our products. You can also download more information from the product page or our document centre.